File Restoration using JetBackup 5
- Log in to your cPanel.
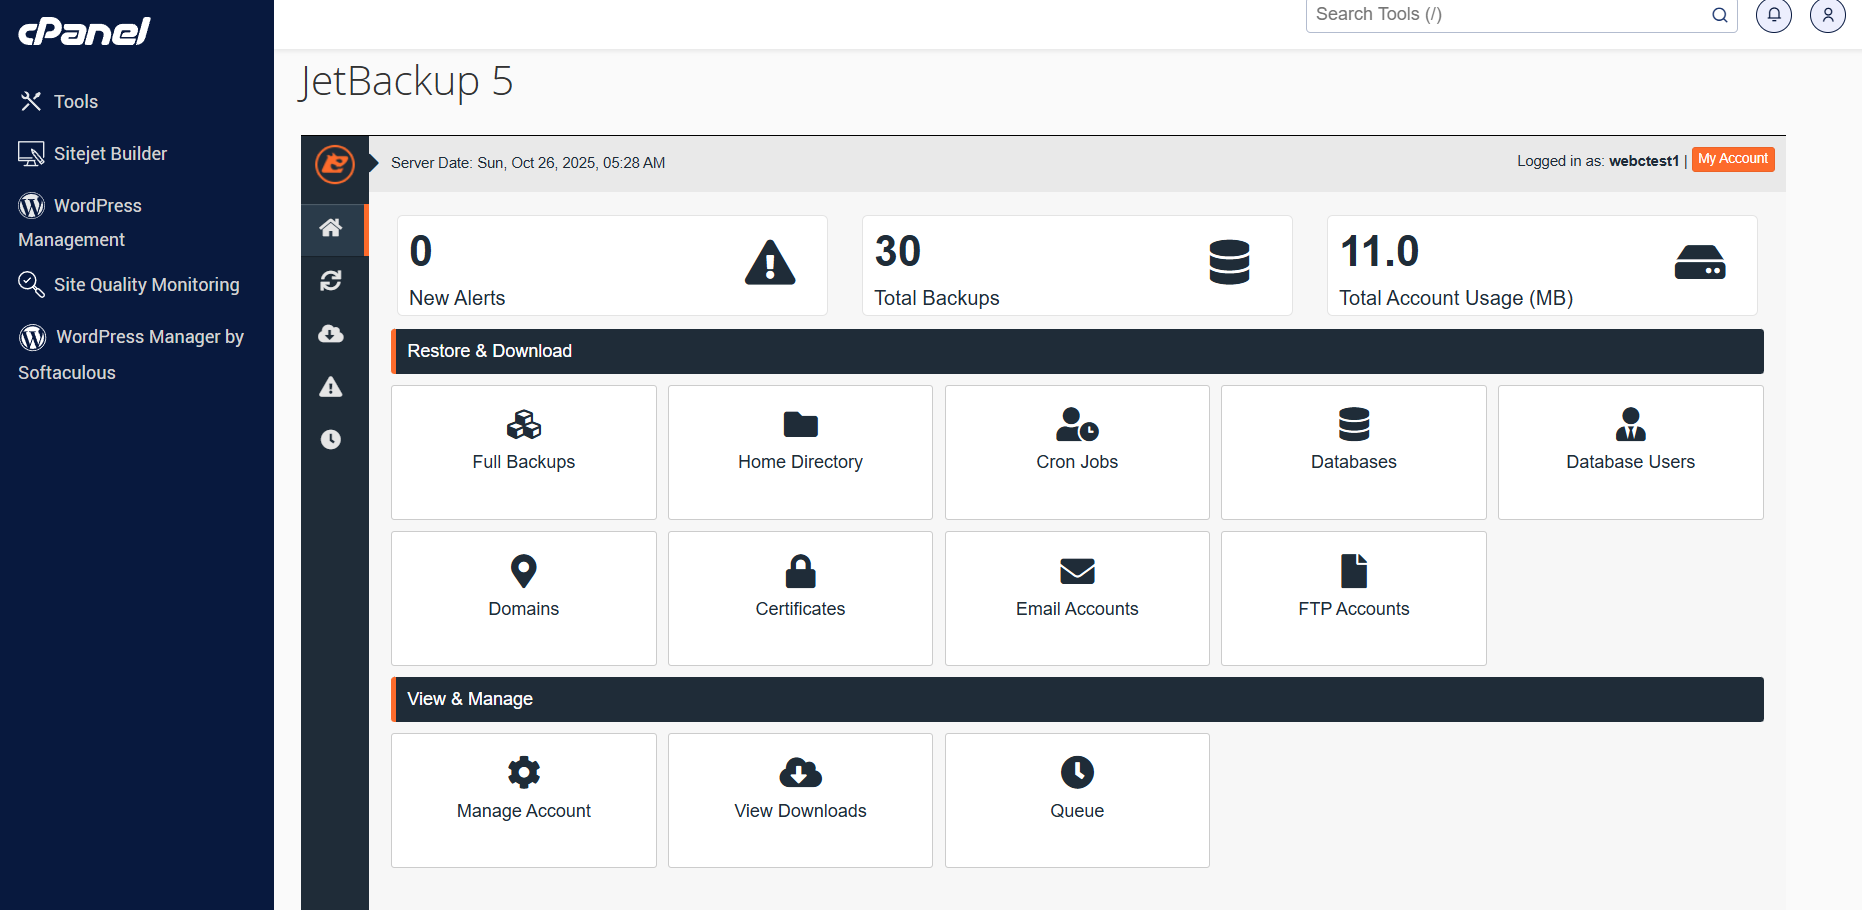
- Navigate to the Files section of your cPanel by scrolling down, then launch JetBackup 5.
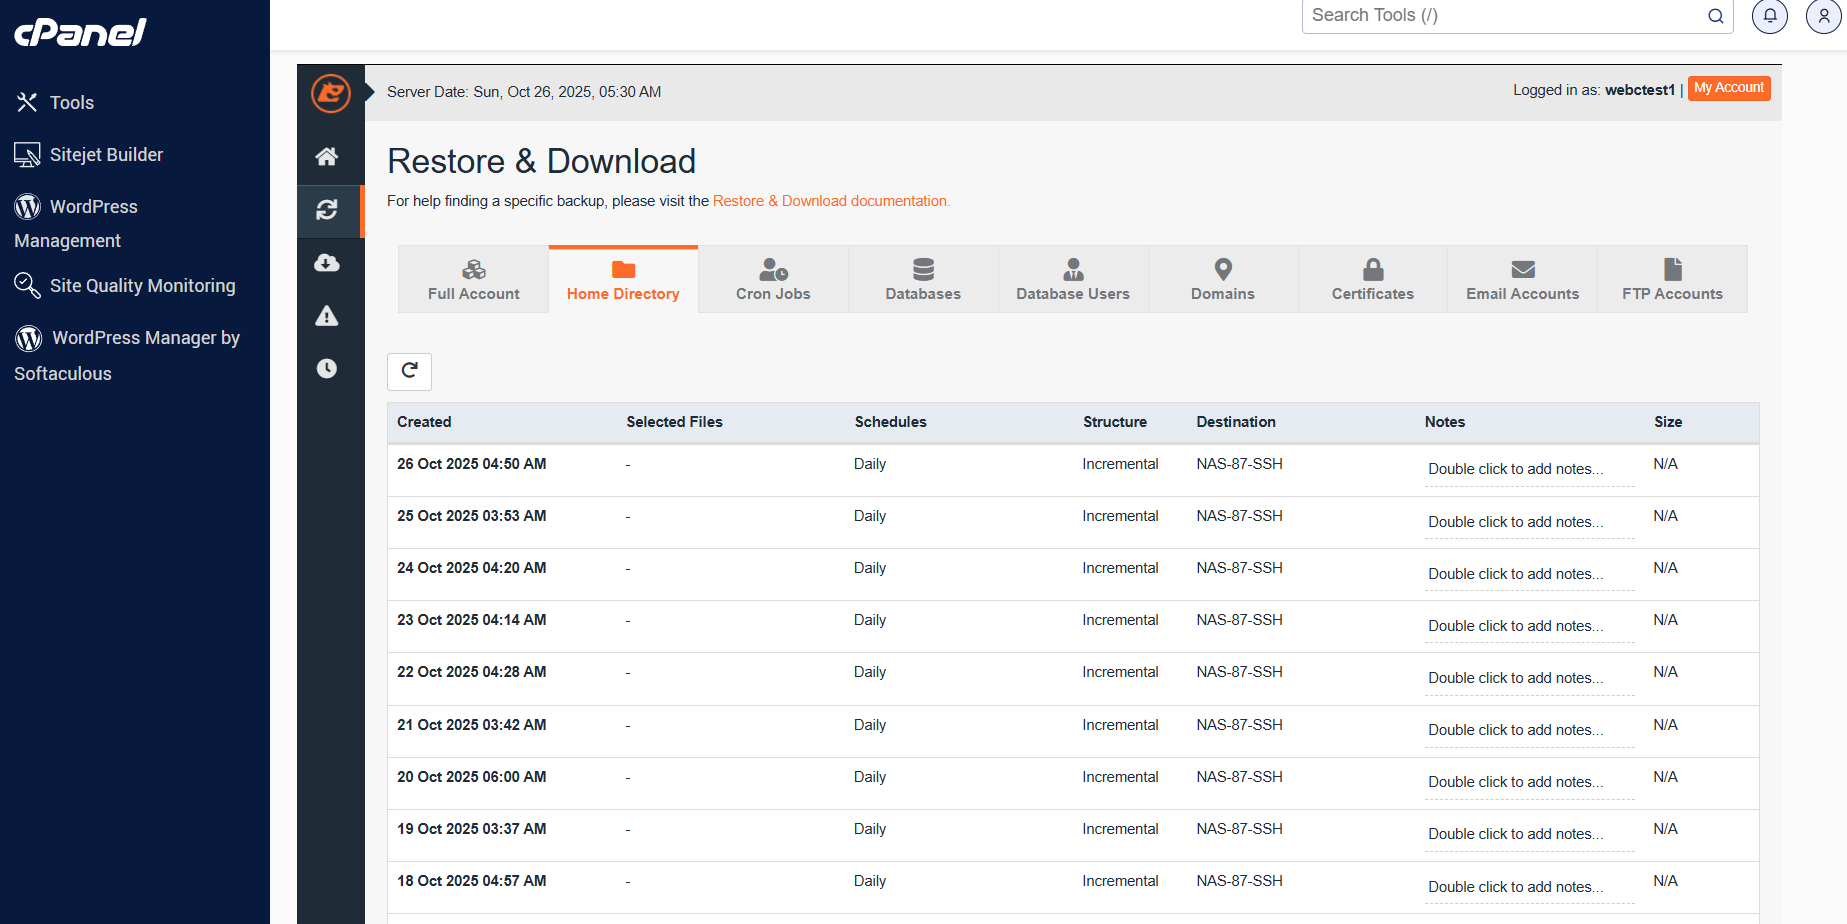
- Click the Home Directory tab in Jetbackup 5 to access the file restoration tool.
- After clicking Home Directory, you will be given a list of backups to choose from.
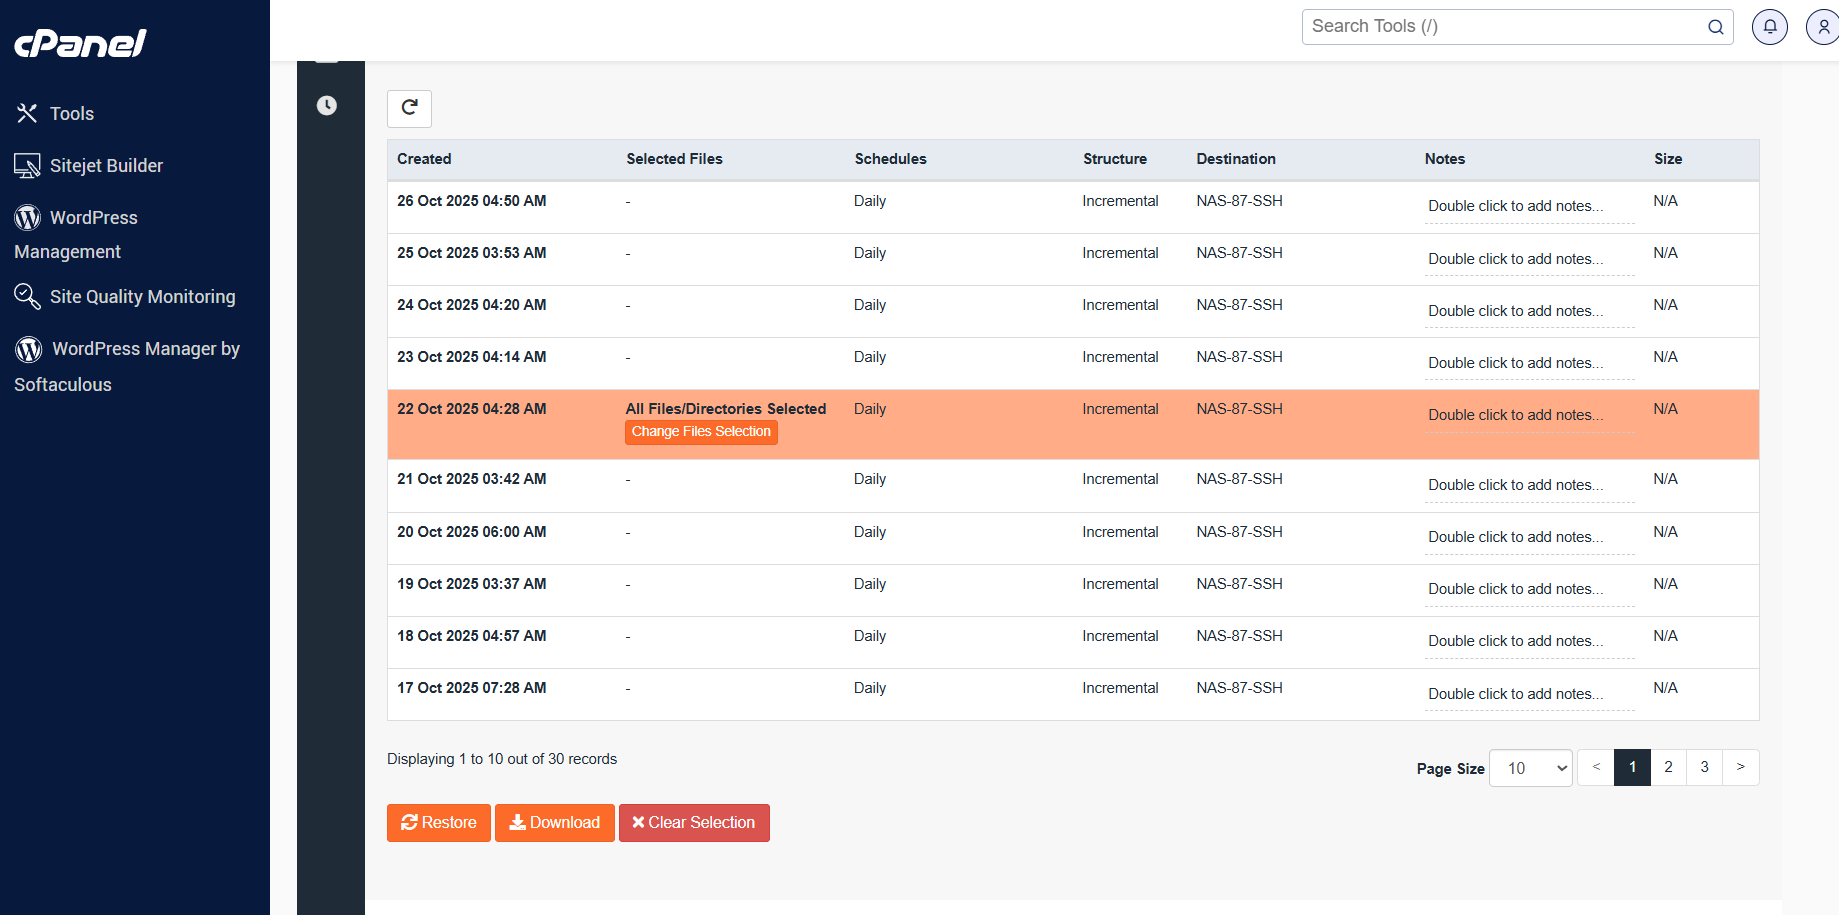
- Click the Change File Selection button to select the specific files or folders you wish to restore.
- A window or a list of the folders and files in your home directory will show up once you click that button.
- The file or files you wish to restore can be found by clicking through each of these directories. Once you’ve located the folder you must tick the checkbox to the left of the folder in the bottom right of the modal and click Select Files.
- You can select one of these options based on what you want to do. Clicking Restore is what you should do if you want to restore. The files will be made accessible to you in a zip file if you choose to just download them by clicking the download button.
- You’ll get a popup asking you to confirm the restoration after selecting Restore. Simply click Restore selected items button.
- You must locate the Queue option on the Jet Backup home page in order to access the queue.