
Create a MySQL Database
- Log in to cPanel: Access your control panel using your cPanel username and password.
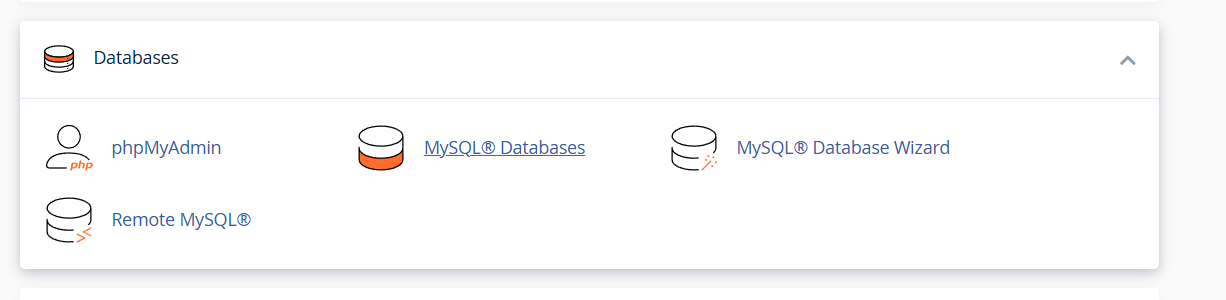
- Locate Database Tools: Scroll down to the Databases section and click on the MySQL® Databases icon.
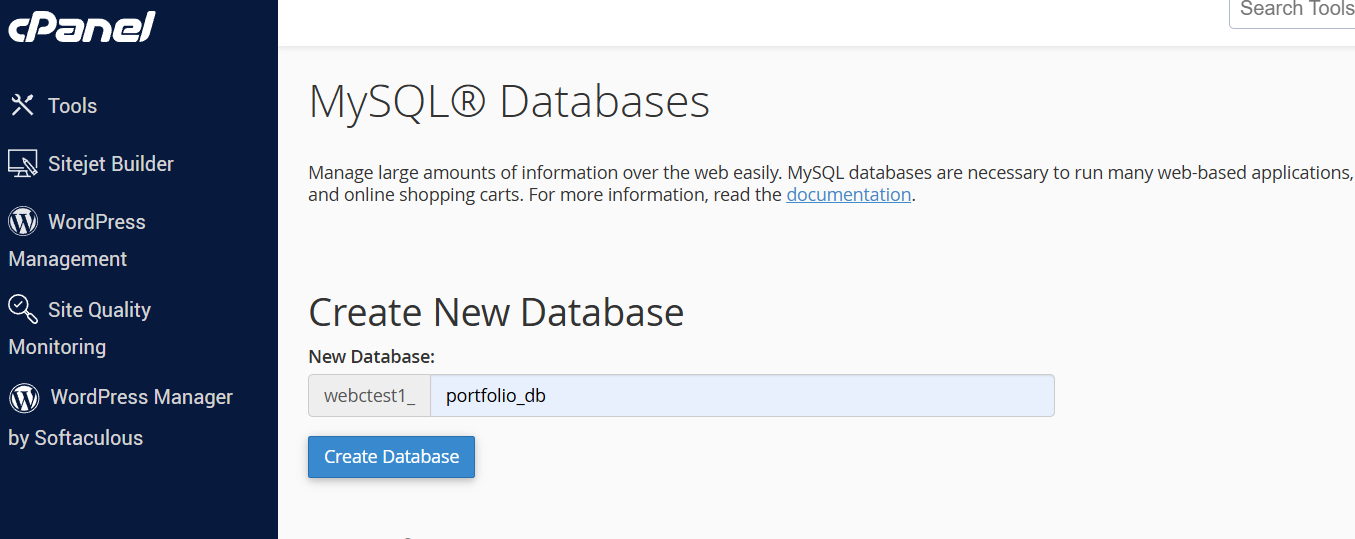
- In Create New Database: Find the section labeled Create New Database. Enter a name for your database in the text box (e.g., site_db). Click the Create Database button.
Create a User
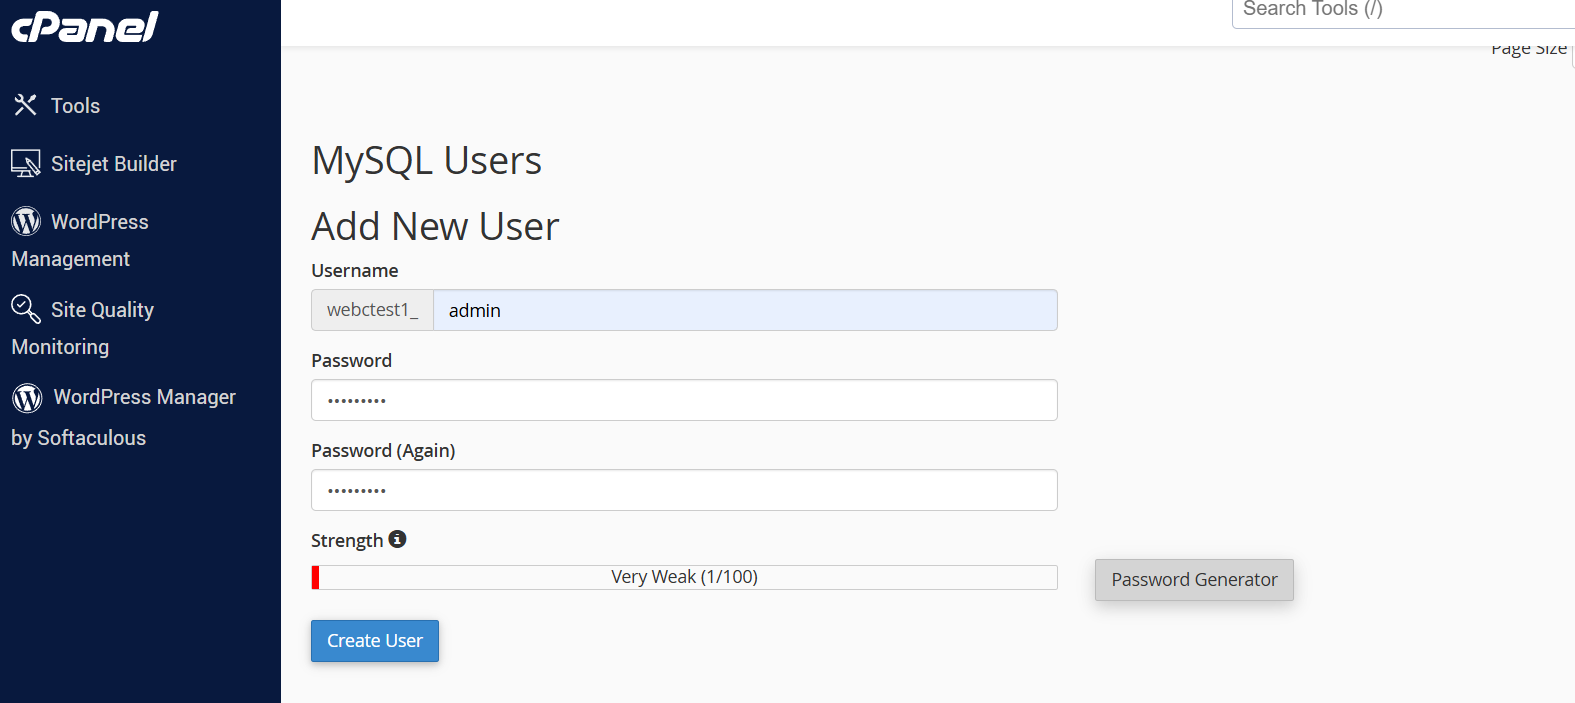
- Locate MySQL Users: From the main MySQL® Databases page, scroll down until you reach the section labeled MySQL Users (specifically under Add New User).
- Enter Credentials: * Username: Enter a name for your database user.
- Password: Enter a strong password (or use the "Password Generator").
Once created, you will see a success message confirming the user has been added to the system. Click Go Back to return to the database management screen.
Link User to Database
- Locate the Connection Section: On the MySQL® Databases page, scroll down to the section titled Add User To Database.
- Select User and Database:
- From the User dropdown menu, select the username you just created.
- From the Database dropdown menu, select your new database.
- Click the Add button.
Your database is now fully configured and ready to be used by your application or website.
Manage User Privileges
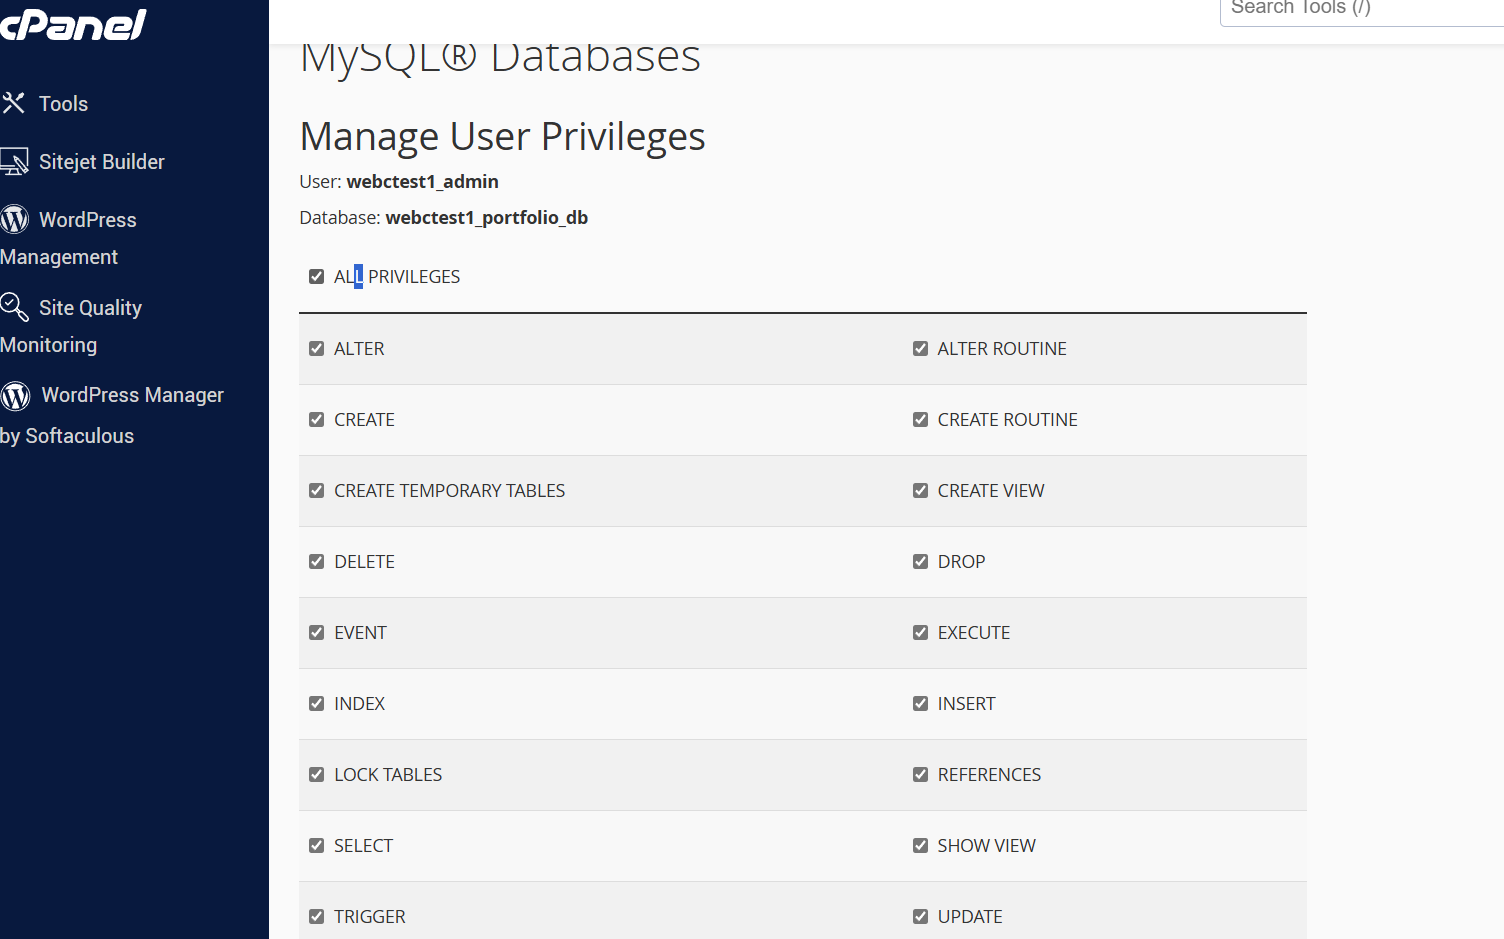
If you ever need to update or verify the access levels for a user, follow these steps:
- Locate Current Databases: From the MySQL® Databases page, scroll down to the Current Databases section.
- Select the User: * Find the specific database you wish to modify.
- In the Privileged Users column, click on the Username you want to update.
Your user permissions have now been updated.