
2-Factor Authentication (2FA) adds an extra layer of security to your account. Even if someone obtains your password, they will not be able to log in without the one-time code generated on your mobile device.
Step 1: Install Google Authenticator on Your Phone
Before enabling 2FA on your Webzim account, you need to install the Google Authenticator app on your smartphone.
Android
- Open the Google Play Store on your Android device.
- Search for Google Authenticator or use the link below to go directly to the app: https://play.google.com/store/apps/details?id=com.google.android.apps.authenticator2
- Tap Install and wait for the installation to complete.
iPhone (iOS)
- Open the App Store on your iPhone.
- Search for Google Authenticator or use the link below: https://apps.apple.com/us/app/google-authenticator/id388497605
- Tap Get and wait for the installation to complete.
Step 2: Enable 2FA on Your Webzim Account
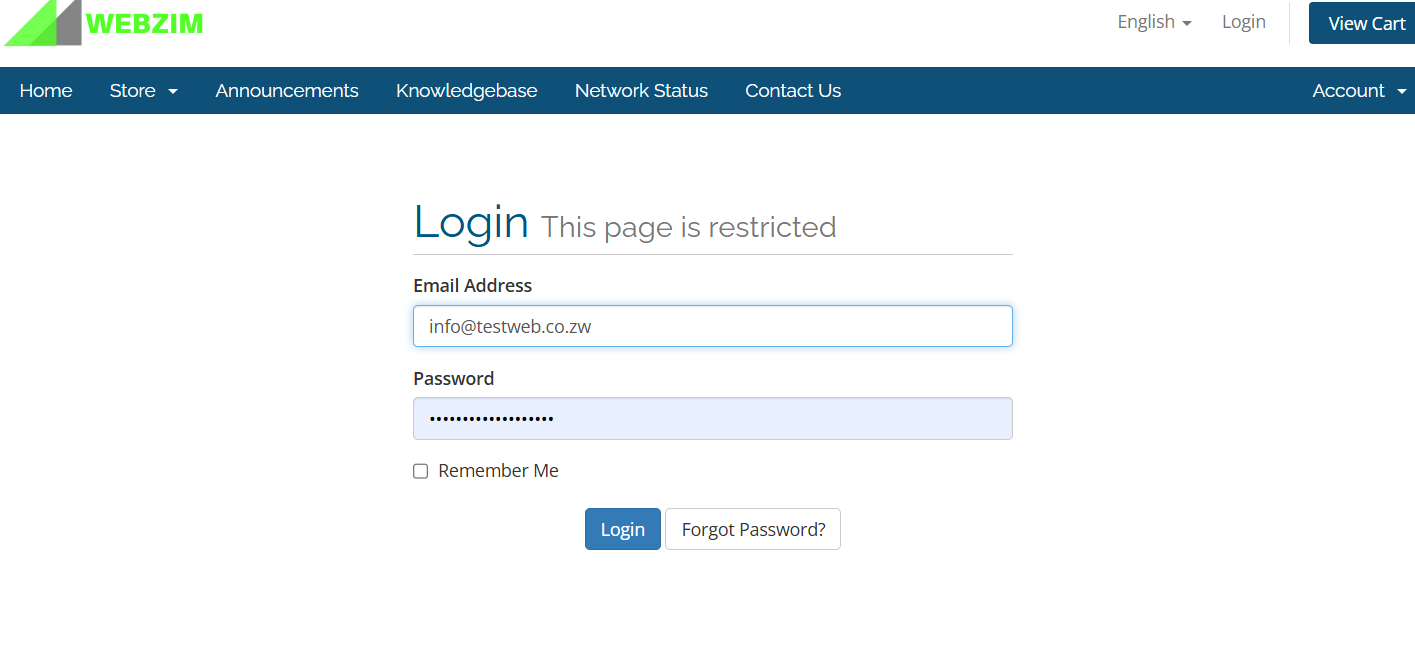
- Log in to your Webzim Client Area at webzim.co.zw.
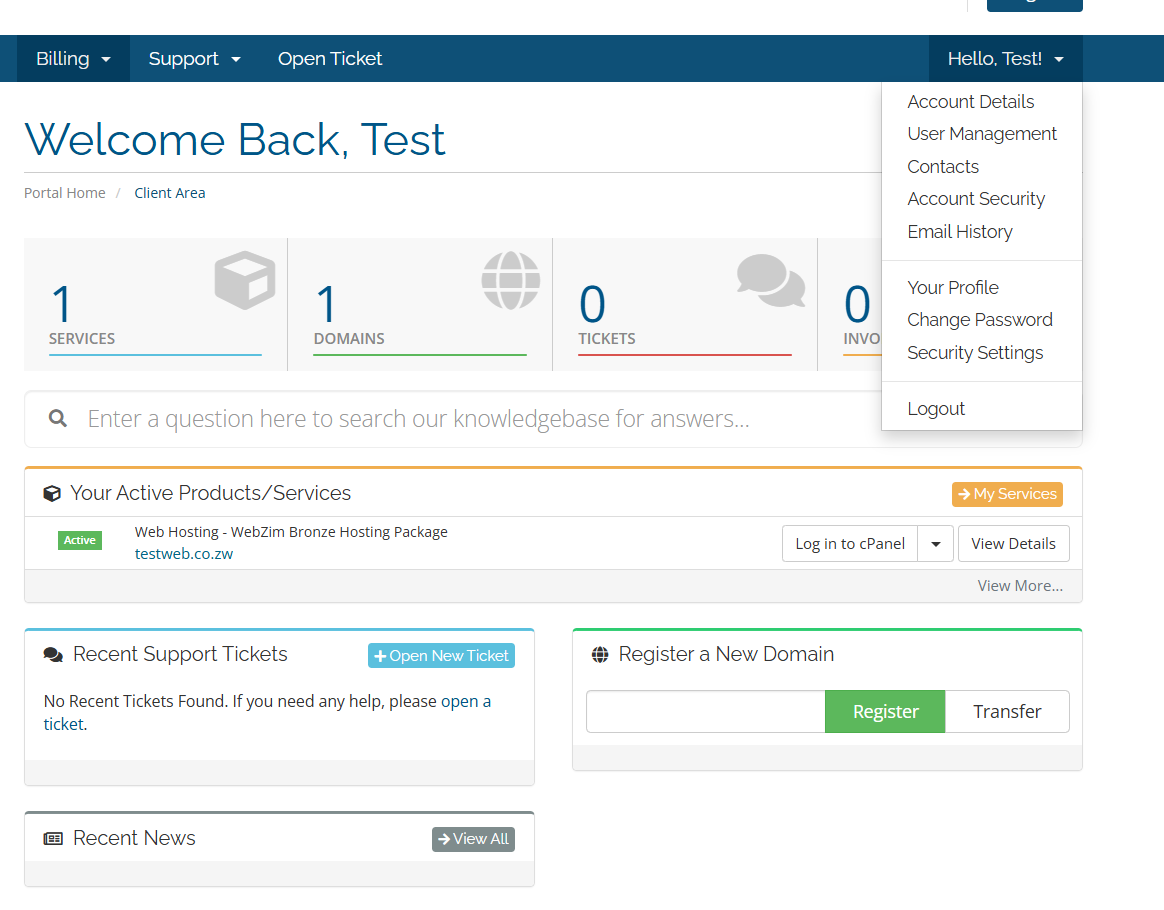
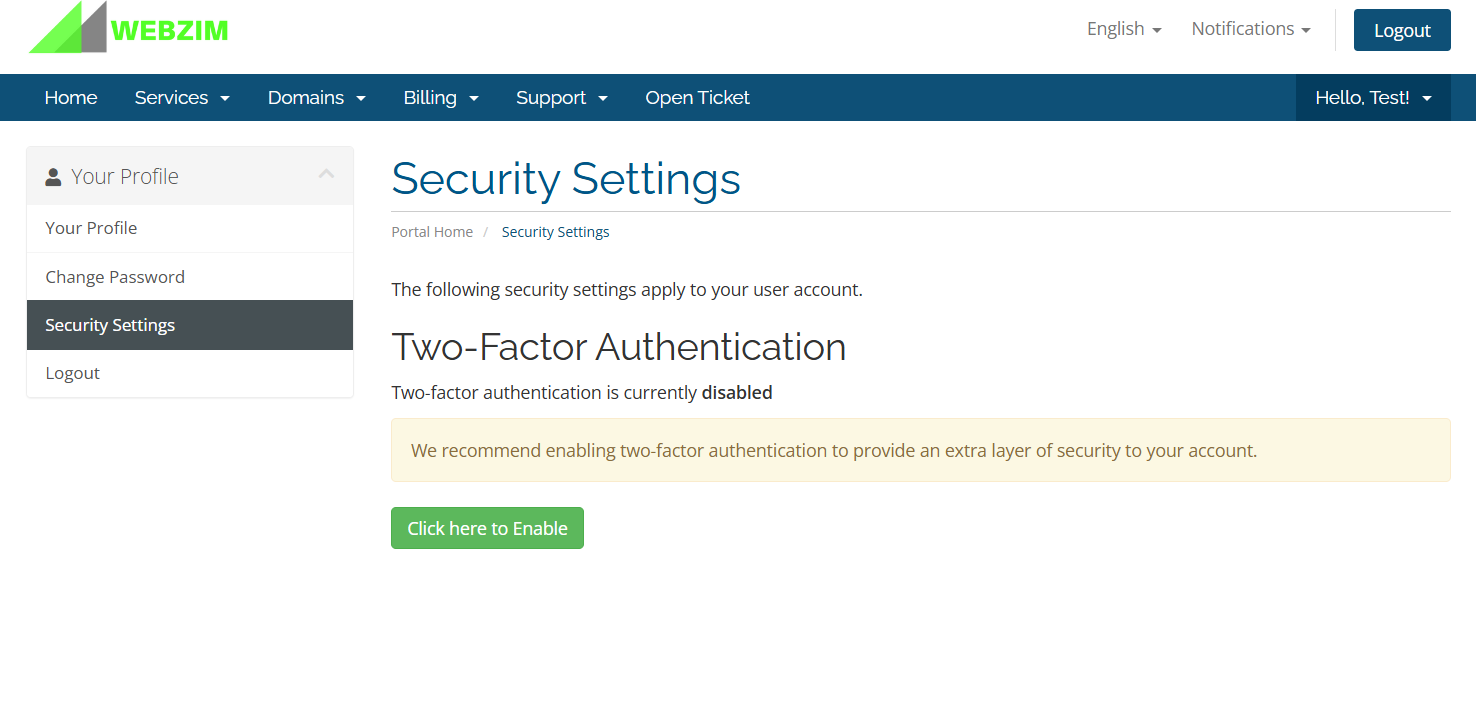
- Click on the Hello dropdown button (top right corner) and select Security Settings.
- Click on Click here to enable under Two-Factor Authentication
- Click on Get Started.
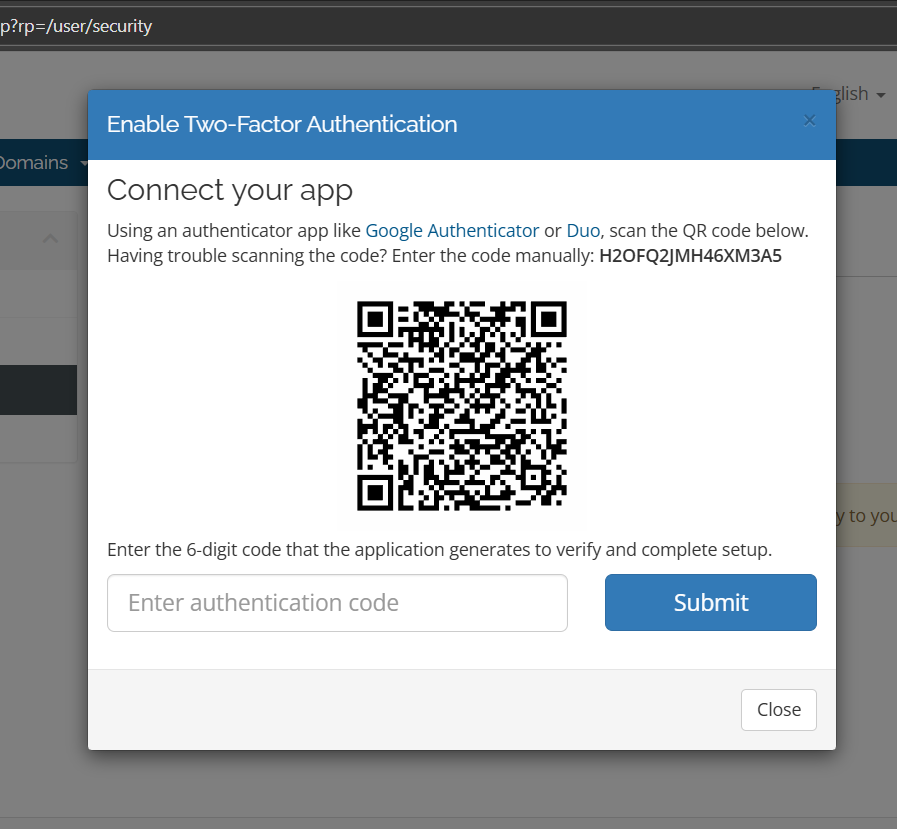
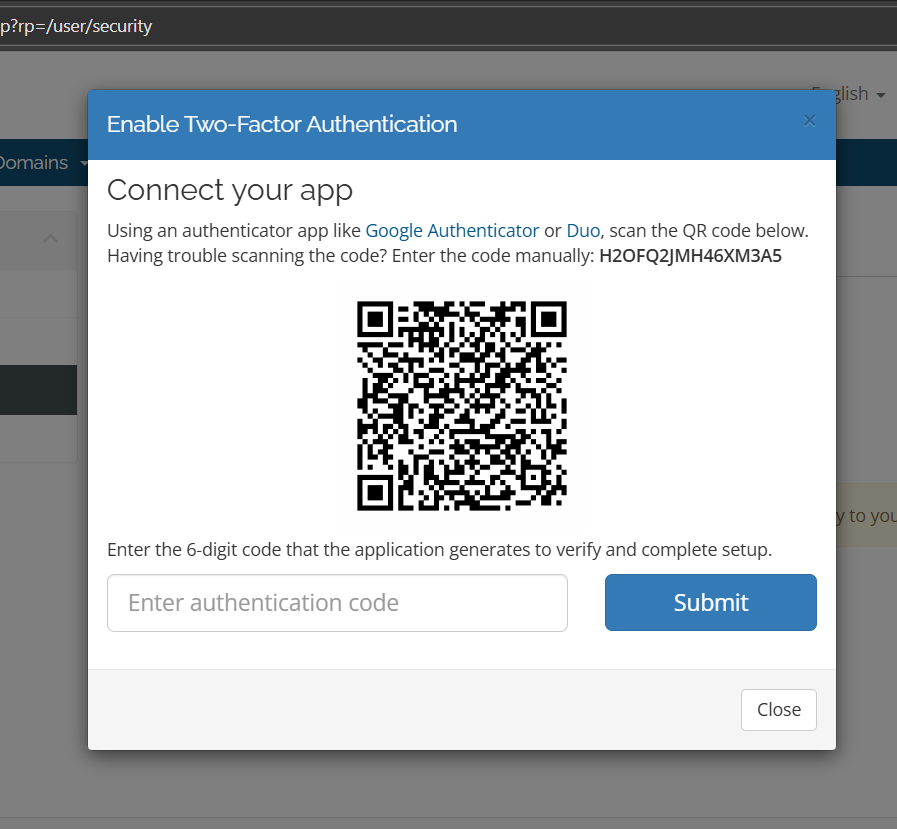
- A QR code will appear on your screen.

Note: Make sure you have the Google Authenticator app installed before proceeding past this point.

Step 3: Link Your Webzim Account to Google Authenticator
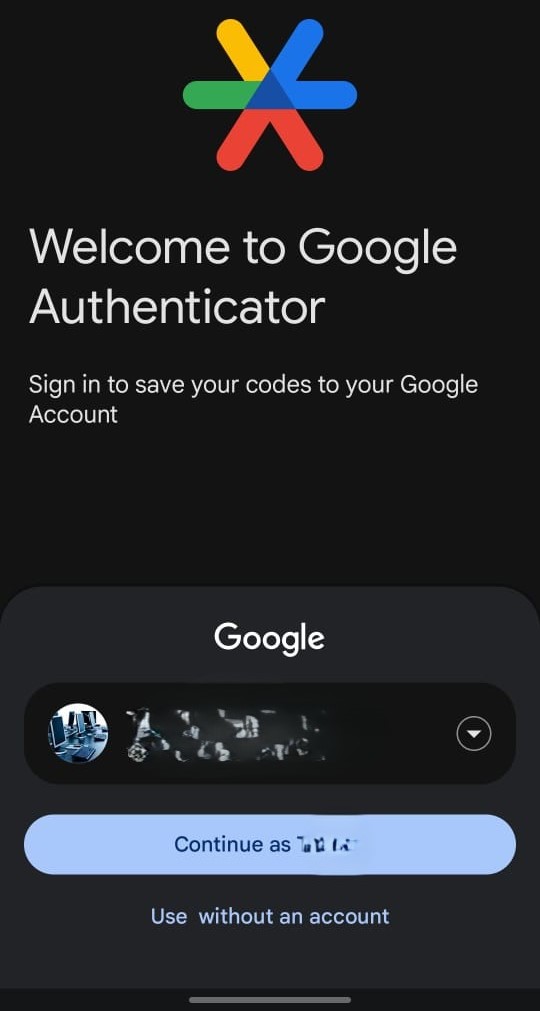
- Open the Google Authenticator app on your phone.
- Select the Google account (email address) you want to associate with the 2FA codes.
- Tap the + (plus) icon in the bottom right corner of the app.
- Select Scan a QR code.
- Point your phone camera at the QR code displayed on your Webzim screen to scan it.
- A 6-digit code will appear in the app — enter this code into the input box displayed below the QR code on your Webzim screen.
- Click Submit to complete the setup.
Step 4: Save Your Backup Code
After successfully entering the code, a backup code will be displayed on your screen.
Important: Take a photo of this code or write it down and store it somewhere safe. This backup code can be used to access your account if you ever lose access to your phone or the Google Authenticator app.
Step 5: How to Log In with 2FA Enabled
Once 2FA is active, your login process will work as follows:
- Go to webzim.co.zw and enter your email address and password as usual.
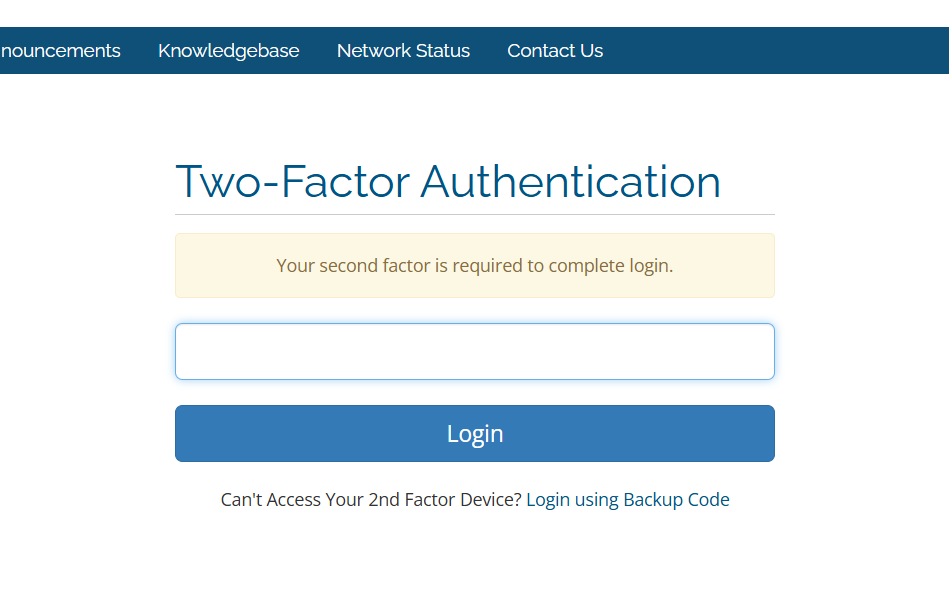
- You will then be prompted to enter a 2FA verification code.
- Open the Google Authenticator app on your phone.
- Enter the 6-digit code shown in the app into the verification field on the Webzim login page.
- Click Confirm to complete your login.
Note: The code in Google Authenticator refreshes every 30 seconds. Enter it promptly before it expires.
Step 6: Test That 2FA is Working
To confirm that 2FA has been set up correctly:
- Log out of your Webzim Client Area.
- Log in again using your email address and password.
- Confirm that the system now prompts you to enter a 2FA code.
- Open the Google Authenticator app on your phone.
- Enter the code shown in the app to complete the login.
If you are successfully logged in after entering the code, your 2FA setup is complete and working.
Disabling 2FA
If you ever need to disable 2FA, log in to your account, navigate back to Security Settings, and follow the prompts to turn off 2-Factor Authentication.