
2-Factor Authentication (2FA) adds an extra layer of security to your cPanel account. Even if someone obtains your password, they will not be able to log in without the one-time code generated on your mobile device.
Before You Begin: Install Google Authenticator
You need to have the Google Authenticator app installed on your smartphone before proceeding. If you have not installed it yet, refer to the instructions below.
Android
- Open the Google Play Store on your Android device.
- Search for Google Authenticator or use the link below to go directly to the app: https://play.google.com/store/apps/details?id=com.google.android.apps.authenticator2
- Tap Install and wait for the installation to complete.
iPhone (iOS)
- Open the App Store on your iPhone.
- Search for Google Authenticator or use the link below: https://apps.apple.com/us/app/google-authenticator/id388497605
- Tap Get and wait for the installation to complete.
Step 1: Log In to cPanel
- Open your browser and navigate to your cPanel login page.
- Enter your username and password to log in.
Step 2: Find the Two-Factor Authentication Setting
- Once inside cPanel, use the search bar at the top of the page.
- Type Two-Factor Authentication into the search bar.
- Click on the Two-Factor Authentication icon that appears in the results.
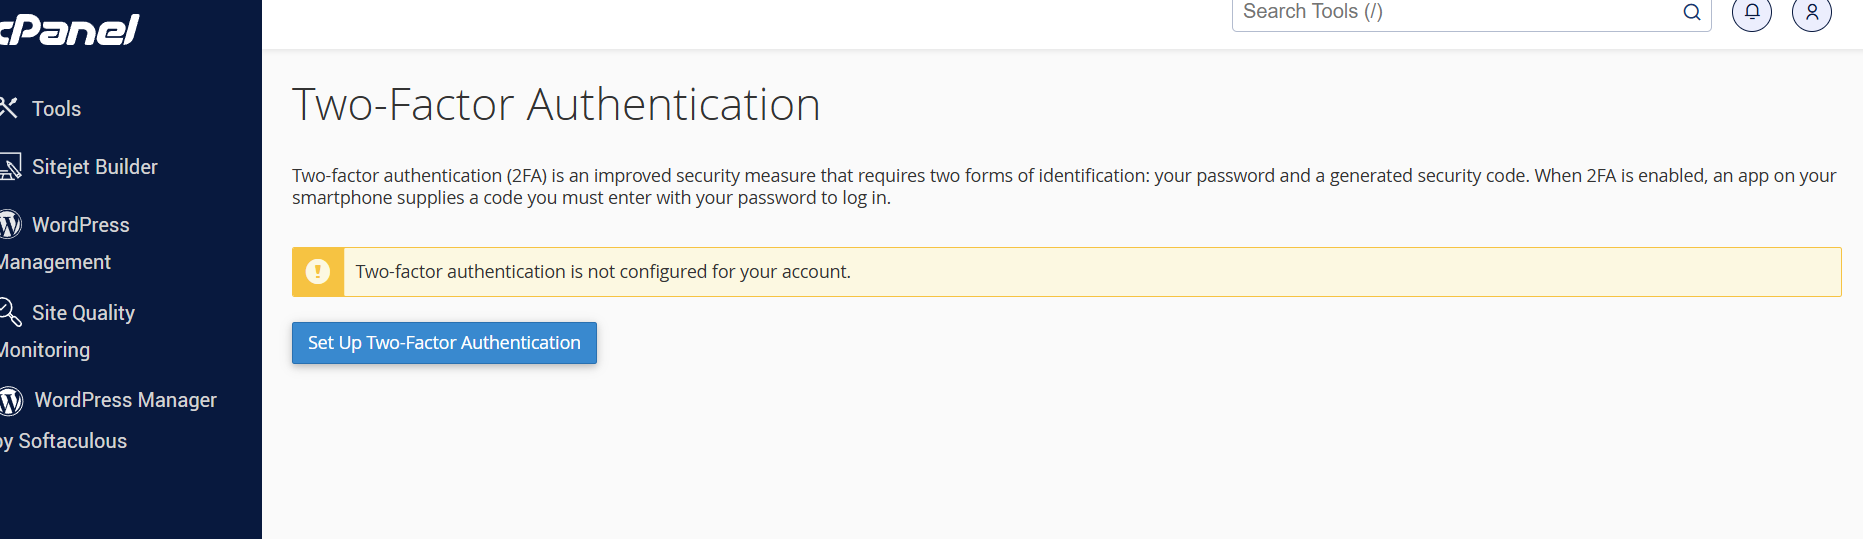
Step 3: Begin the Setup
- Click on Set Up Two-Factor Authentication.
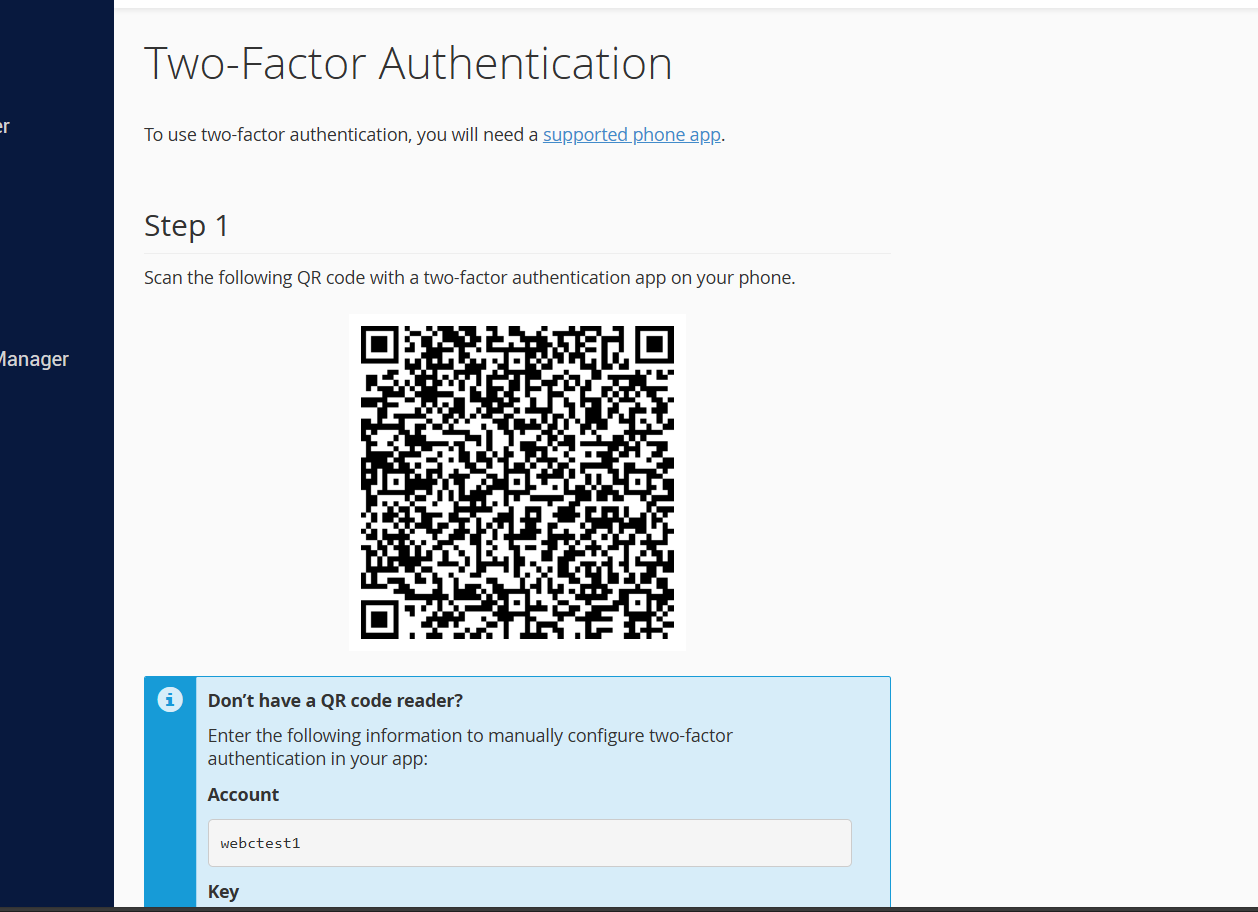
- A QR code will appear on your screen.
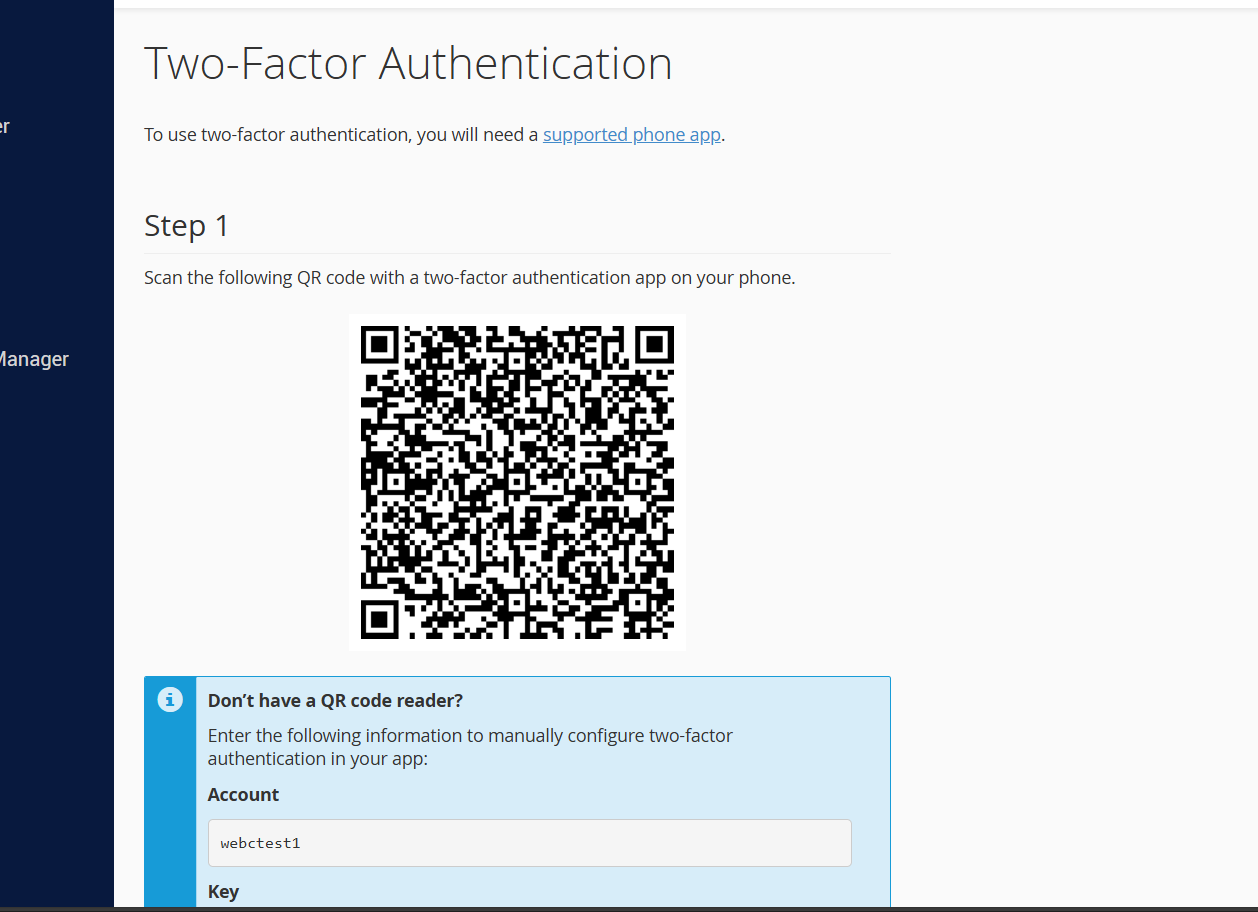
Note: Make sure you have the Google Authenticator app installed and ready on your phone before proceeding past this point.

Step 4: Link Your cPanel Account to Google Authenticator
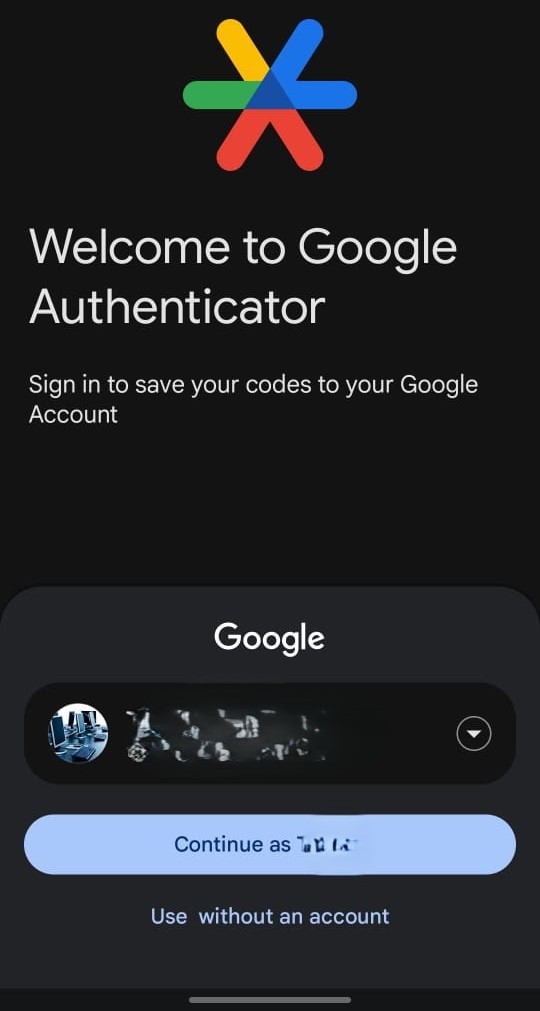
- Open the Google Authenticator app on your phone.
- Select the Google account (email address) you want to associate with the 2FA codes.
- Tap the + (plus) icon in the bottom right corner of the app.
- Select Scan a QR code.
- Point your phone camera at the QR code displayed on your cPanel screen to scan it.
- A 6-digit code will appear in the app — enter this code into the input field at the bottom of the cPanel page.
- Click Configure Two-Factor Authentication to complete the setup.
Step 5: Confirm the Setup
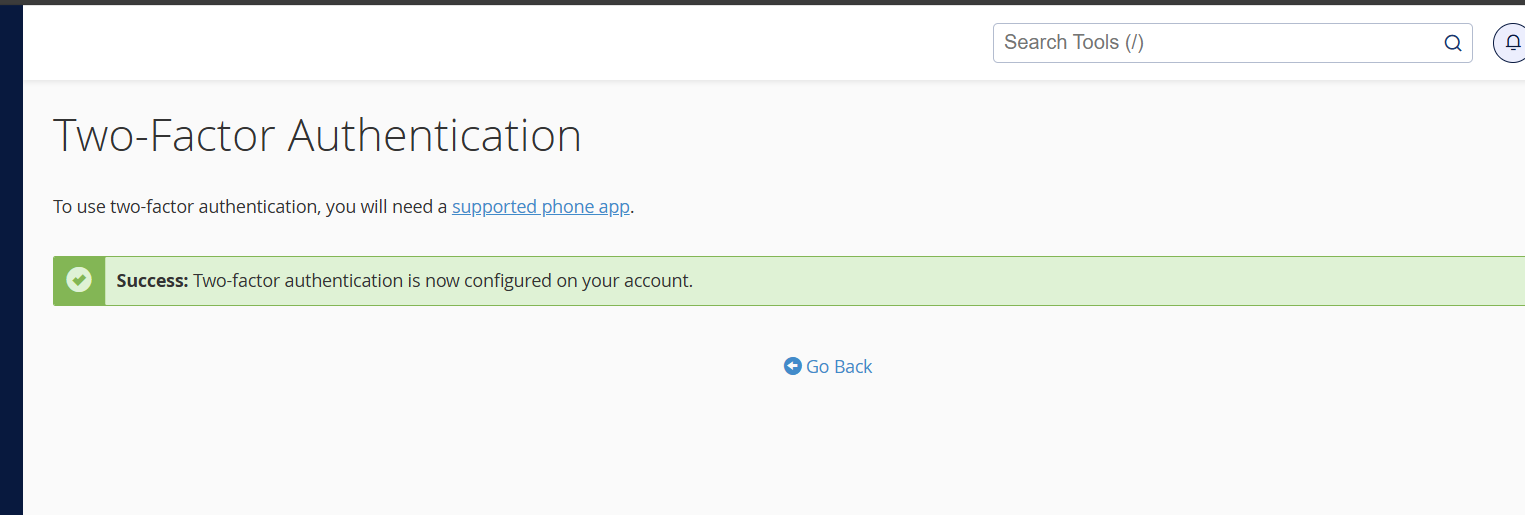
After clicking Configure Two-Factor Authentication, a success screen will appear confirming that 2FA has been enabled on your account.
Note: The code in Google Authenticator refreshes every 30 seconds. Enter it promptly before it expires.
Step 6: How to Log In with 2FA Enabled
Once 2FA is active, your login process will work as follows:
- Go to your cPanel login page and enter your username and password as usual.
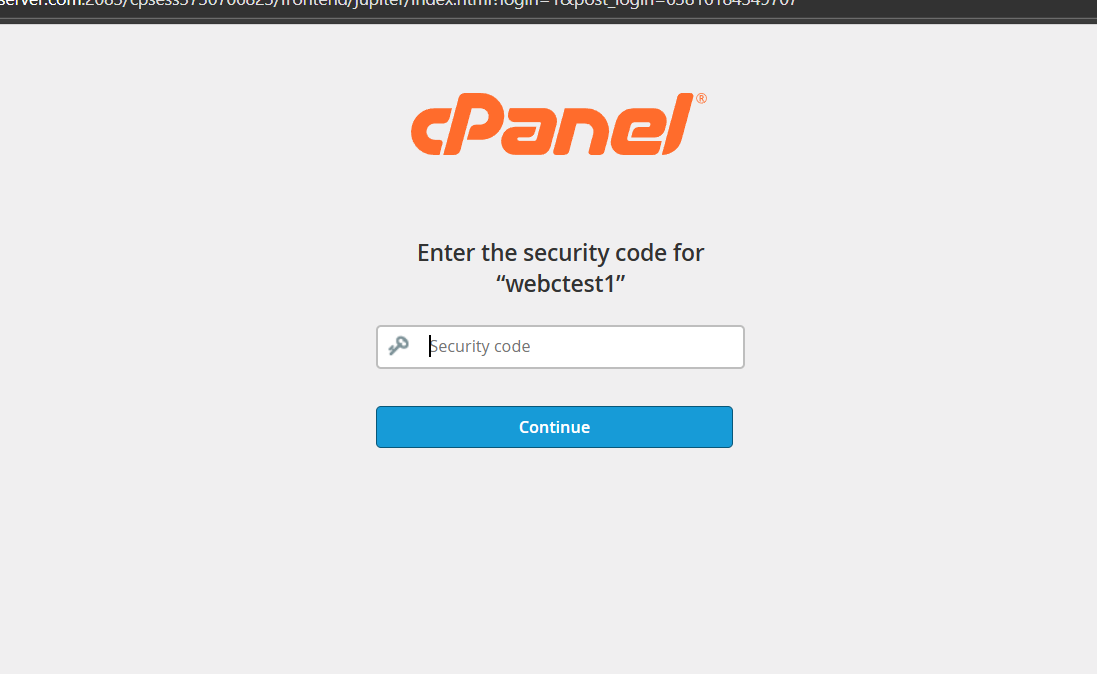
- You will then be prompted to enter a 2FA verification code.
- Open the Google Authenticator app on your phone.
- Enter the 6-digit code shown in the app into the verification field on the cPanel login page.
- Click Log In to complete your login.
Step 7: Test That 2FA is Working
To confirm that 2FA has been set up correctly:
- Log out of cPanel.
- Log in again using your username and password.
- Confirm that the system now prompts you to enter a 2FA code.
- Open the Google Authenticator app on your phone.
- Enter the code shown in the app to complete the login.
If you are successfully logged in after entering the code, your 2FA setup is complete and working.
Disabling 2FA